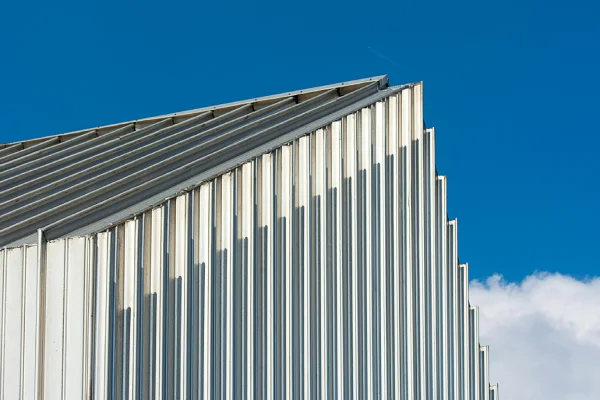
When it comes to the best roofing options for your home, metal roofing should be your go-to option on the market. Over the years, metal roofing has become increasingly popular. Its durability, longevity, and energy efficiency are the main reasons it has become the top choice for homeowners.
One way to enhance the strength and durability of metal roofs is to install them on plywood. Plywood offers exceptional protection against water damage, wind, and hail. Installing metal roofs on plywood provides added insulation, which helps reduce energy costs. It also increases the overall aesthetic appeal of the property.
While installing a metal roof on plywood might be intimidating, the process is relatively simple with the proper steps and materials. This article will provide all the necessary information for installing metal roofing over plywood. You can check out Ottawa Metal Roofs for installing metal roofing over plywood. They have extensive expertise in replacing, repairing, and installing metal roofing and deliver excellent craftsmanship and service.
Preparing for Installation
Before starting the installation process, it is imperative to make adequate preparations. First, ensure that the plywood is in good condition. Make sure the plywood is free of cracks, rot signs, and defects. Consider purchasing extra pieces of plywood to reinforce the metal roofing if needed.
Next, make an accurate measurement of the installation area so that you can purchase the correct materials for the project. It is essential to have the required number of metal panels for a successful installation. Additionally, consider any slopes or curves during measurement, as they may require additional panels and cuts to achieve a precise fit.
We recommend you purchase a few extra panels to replace the installed panels in case of damaged pieces or installation errors.
Ensure you have all the tools and equipment readily available, such as self-tapping screws, metal roofing panels, roofing screws, sealant, a hammer, a drill, and protective gear. Finally, invest in a gutter system to divert the rainwater away from the foundation of your home.
Installing the metal roof
- Arrange all the metal panels on the plywood base in your desired pattern. Make sure you pre-drill holes for screws.
- Use self-tapping screws or specialized metal roofing screws to attach the panels to the plywood firmly. Remember to maintain a gap between each metal panel so water can drain without disruption.
- Apply sealant to edges and seams to prevent any potential water leakage. Use high-quality sealant and screws designed specifically for metal roofing installation.
- To protect the metal roof from rust, stains, or discolorations from the elements, apply a weather-resistant coating such as paint or stain.
Securing the outer edge of the roof deck
During the initial stage of installing a metal roof, securing the outer edge of the roof deck is necessary. This step is important so that the metal roof has a sturdy foundation, which will prevent any instability or shifting over time. Start by measuring and cutting the appropriate flashing length for each roof deck section. Flashing is a crucial component that ensures a watertight seal between the plywood surface and materials like shingles. Once you have the pieces cut, use screws or nails to attach them along the outer edge of the plywood base. Check whether the pieces are aligned perfectly with the plywood.
Attaching the underlayment and felt paper
After securing the outer edge of your roof deck, the next step is to attach the underlayment and felt paper. Attach the underlayment underneath the roof deck using a staple gun or nails. Make sure all the edges overlap and there are no visible gaps between the pieces. Once this step is completed, lay the felt paper on top of the underlayment. The felt paper will protect the metal panels from water damage and provide an extra layer of insulation.
Installing the main metal panels
Once you have completed installing the row of metal roofing panels, you can begin installing the rest of the metal roof. Measure and cut the edge pieces of the starter row in a manner that matches the shape of your roof deck. Attach the pieces using the appropriate screws designed for this roofing material. Then, secure the other side in the same manner. Once both sides are successfully attached, slide each panel into position along the length of the roof deck and secure them with additional screws. Ensure that all panels are leveled and there are no gaps between them.
After installing the starter row, proceed with installing the main panels. Follow these steps:
- Measure and cut the main panels so that they align perfectly with the shape of the roof deck.
- Nail one side of the panel onto the edge piece, then move on to the other.
- Once both sides are secured, slide each panel along the length of the roof deck and fasten them with screws. As we mentioned earlier, make sure that all panels are leveled and there are no gaps between them.
- Install a ridge cap at the top of the roof for added protection against rain and wind.
Joining the seams and ridge caps
After securing all the main metal panels, your next job is to join the seams and ridge caps. Apply a line of sealant along the top edge of each panel, and then use metal seam clips to join them together. Once all the seam clips are in place, you can install the ridge caps at the peak of the roof. Use sealants on one side of every ridge cap and secure them with appropriate screws. Repeat these steps until all the ridge caps are installed.
Final Talks
Installing metal roofing over plywood is a relatively straightforward process, but it does require precision and attention to detail. We recommend hiring a metal roofing contractor to simplify the installation process and ensure the use of the recommended tools and materials.
