Love the idea of creating a modern and storage-savvy utility room? Take inspiration from @baile_na_leice on Instagram, where a plain room at the back of the kitchen has been transformed into a stylish utility room using a lick of paint and wood panels.
Lots of hidden storage
The utility room is equipped with a washer, dryer, and ample storage with fitted cupboards that are finished with gorgeous grey panelling for a sleek look that looks effortless.
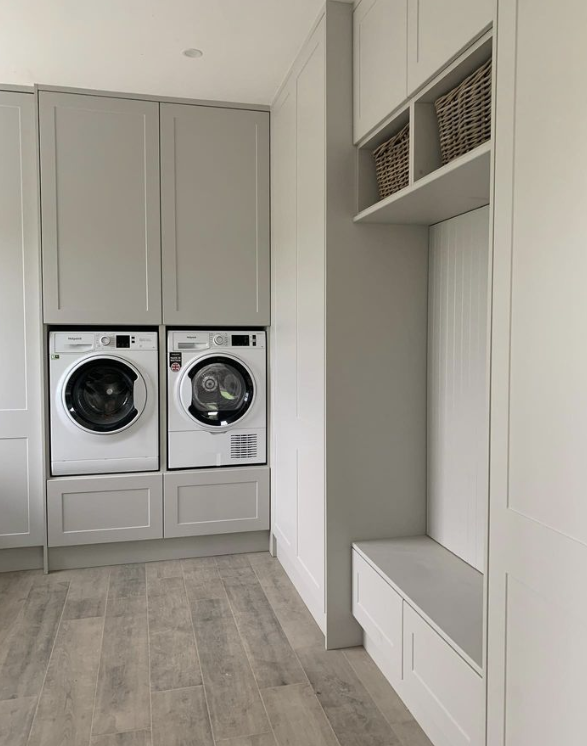
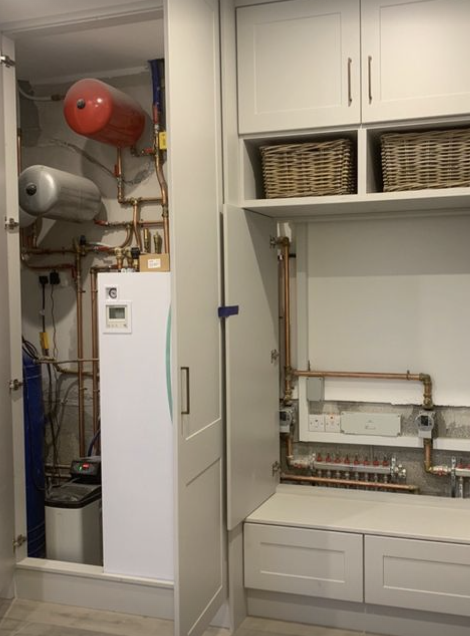
Behind the lovely exterior is the plumbing and heating fixtures, which are beautifully tucked away, yet easily accessible.
More hidden doors for added storage!
Adding panelling into the nook gives the space depth and texture for a complete look. @baile_na_leice achieved this look by gluing cladding together and finishing with grey paint and some hooks to serve as a hanging station.
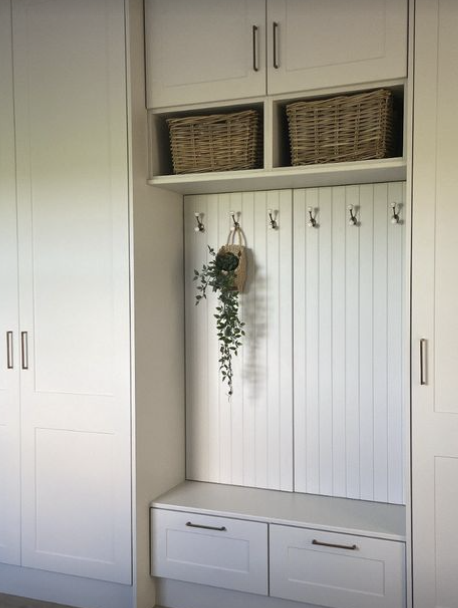
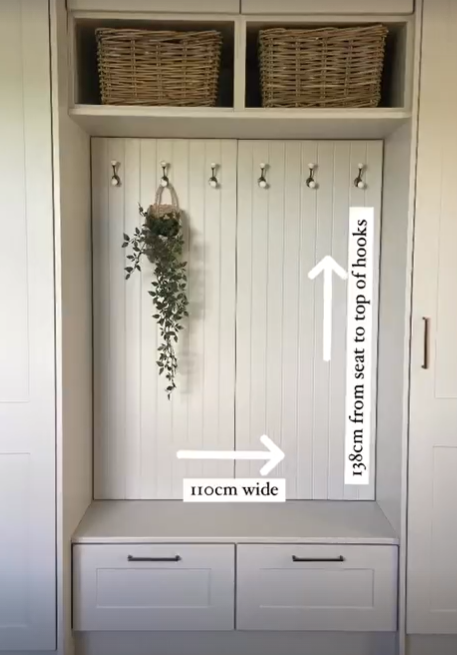
Utility details
Hidden behind the kitchen through a secret door, @baile_na_leice has transformed the utility room into a stylish storage room tucked away, keeping to the flow of the kitchen style.
Want to find out what’s behind the secret door? See the highlight on Instagram here.
See what’s on the other side of the utility room…
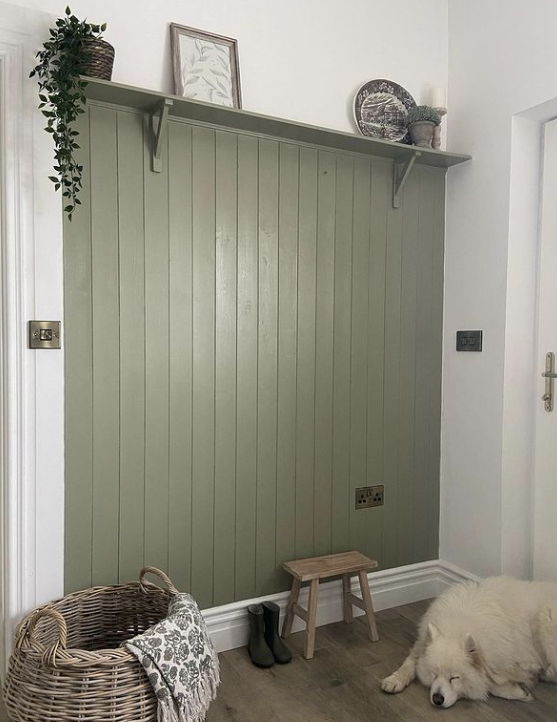
On the other side of the utility room is a statement panelled wall using tongue and groove cladding with a bespoke shelf that adds character to the space while keeping with the neutral theme of the utility room.
See how the look was achieved below:
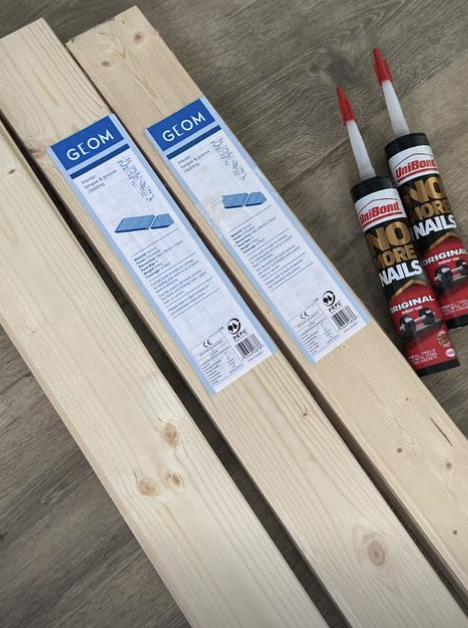
Tools and materials used:
- 4x packs of Tongue & Groove cladding 1.8m high (B&Q)
- 2x shelf brackets (B&Q)
- 1x piece moulding (Woodies)
- 2x No more nails glue (Woodies)
- Panel pins (Woodies)
- Primer: Fleetwood Pure Grip Undercoat Primer Stain Killer White (Albany)
- Rollers (Two Fussy Blokes)
- Caulk
@baile_na_leice explains the process:
“For the shelf, I had a spare piece of skirting leftover.
“I used lots of glue on each board but also hammered in a panel pin at the top and bottom of each board. You can’t even see them!”
Paint colour: F&B ‘Lichen’…which was colour matched in Fleetwood Advanced Satinwood.
Follow @baile_na_leice on Instagram for more DIY tips and inspiration for your home.
