By Leanne
Hi, I’m Leanne from Style Your Sanctuary. Come with me to see how I filled these electric chase holes without previous experience!
Watch the video below, or scroll down to read the steps 🙂
Step-By-Step Guide on How to Fill an Electric Chase in a Solid Brick Wall
1. Prepping is key – Create a PVA base for the plaster to stick to the walls
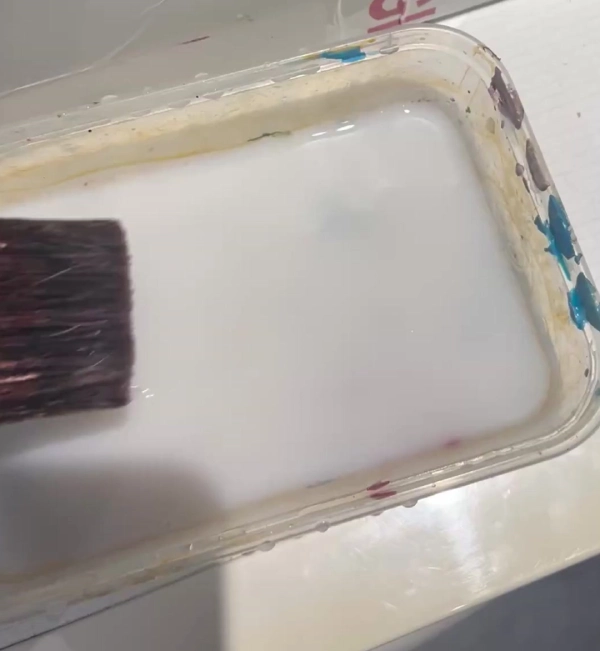
To ensure the plaster sticks to the wall, mix PVA glue with water until you achieve a white liquid. Keep adding glue and water together to get a white liquid consistency.

2. Coat the brick with the PVA glue mix
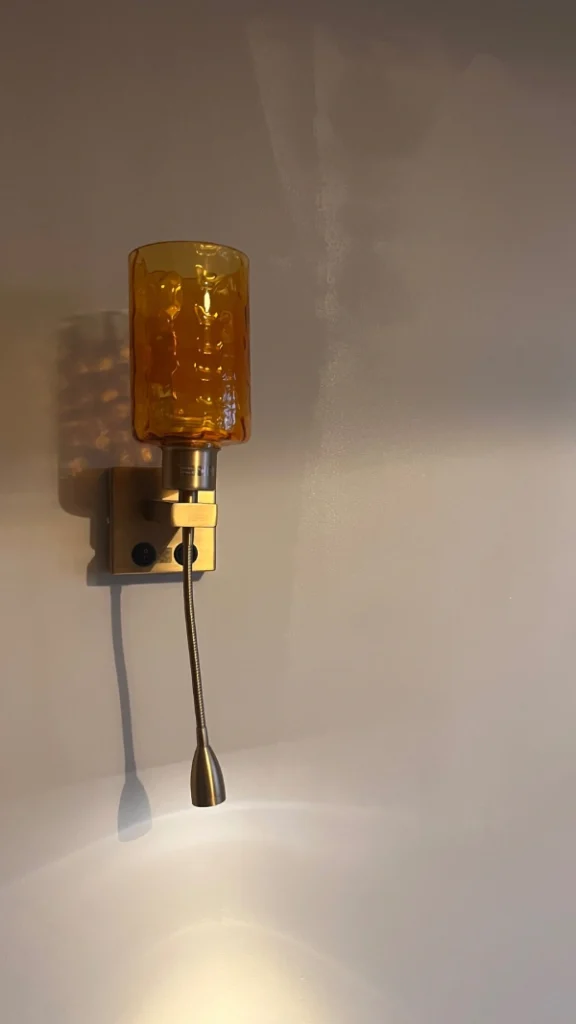
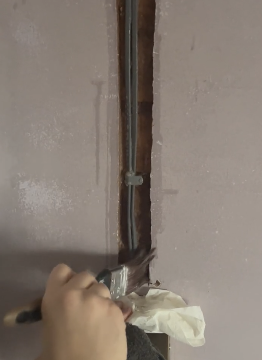
I gave the brick a good coat, ensuring to get in all the nooks and crannies. I kept my light fitting on the wall while doing this, so I used some old rags and tissue to capture liquid, as it’s very runny.
3. Leave it to dry for 30 minutes
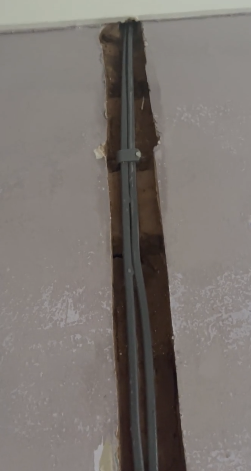
This is what it looks like when it’s all been applied. I left this to dry for 30 minutes before I started on the plastering.
4. Plaster the chase
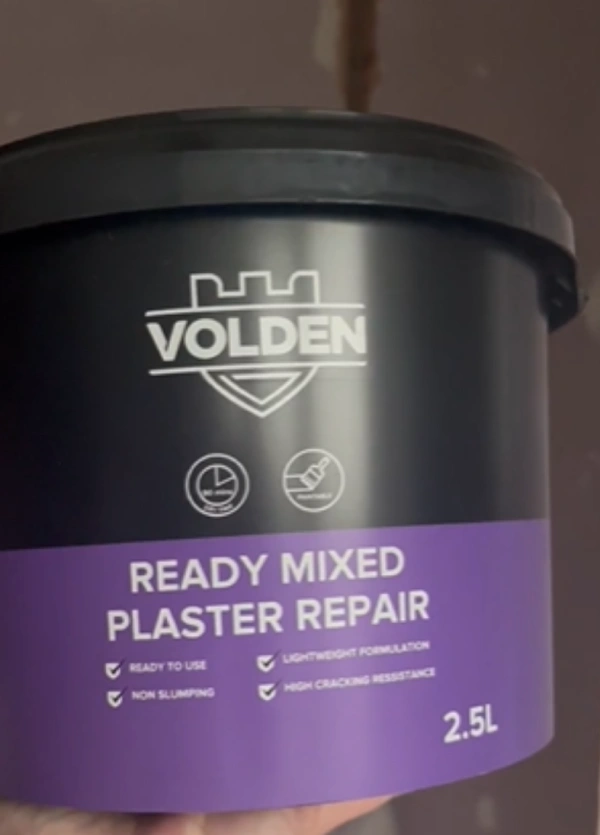
I was too lazy to buy plaster you have to mix yourself, so I got this ready made plaster. I used one tub for 2 electric chases. You do have to mix it before using it, which is an arm killer. So i guess I didn’t really win here.
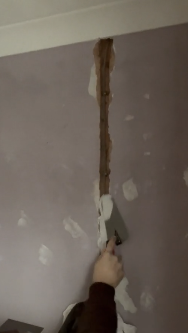
5. Apply the plaster into the hole
After a dead arm, the plaster was ready to apply to the chase. I used a trowel, which made getting the plaster into the hole easier.
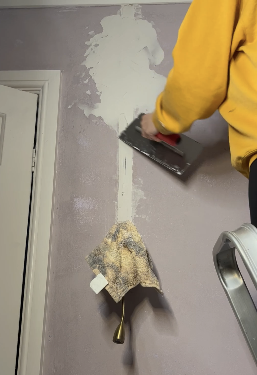
6. After 2.5 hours, add a skim of plaster over the chase
After 2.5 hours the plaster was dry. I then went and did a skim over each chase. Looking back I could have done less on each side of the chase wall and I probably should have used water to make it easier as it’s quite messy and hard to use. But we live and we learn!
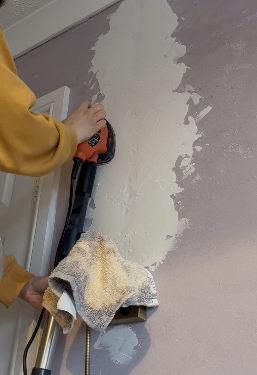
7. Sand the plaster for a smooth finish
I left it to dry for a week (the tub says 2-3 days). Then it was time to get sanding. Because I had done quite a thick skim, I had to sand it down quite a bit, so next time I would certainly do a lighter skim and use water to make the application easier.
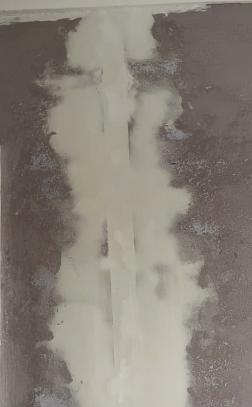
Here’s the result after sanding. I also fillined in some small bits in to make it smoother using Polyfiller.
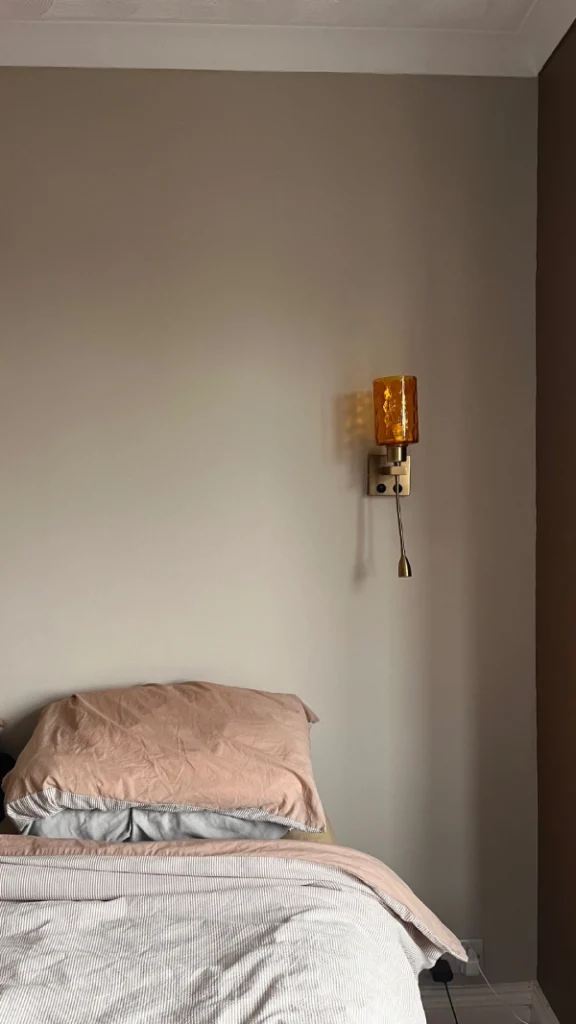
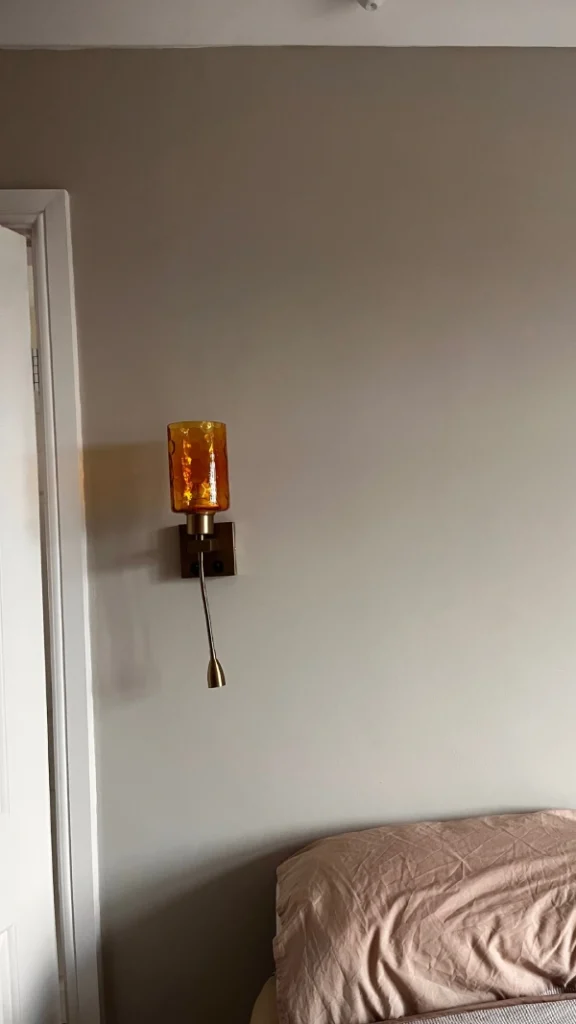
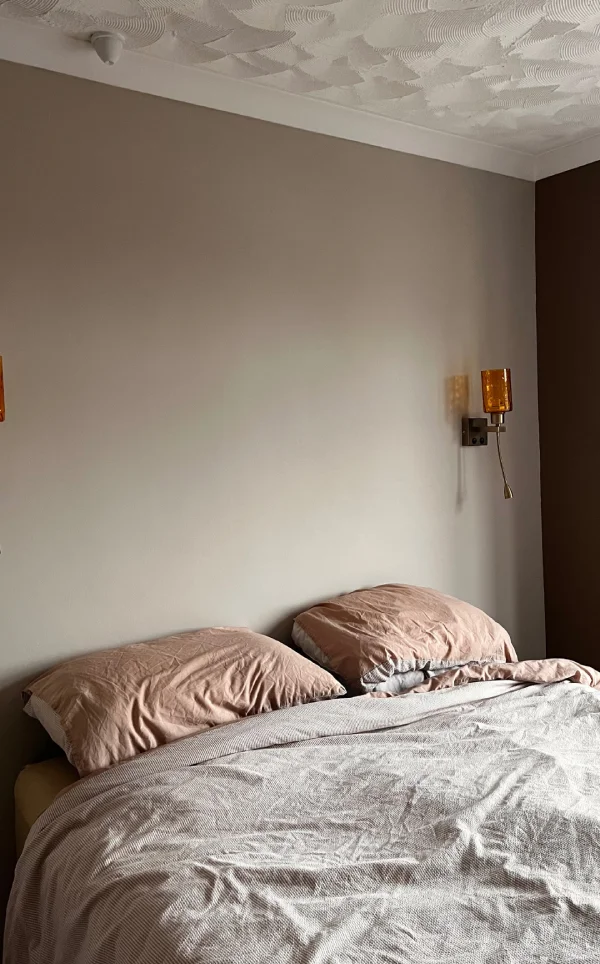
8. Now the wall is ready to paint!
Onto the painting stage next (my favourite part) and here’s a close up of the wall mid-painting. This is the final look, I’m quite happy with it. I would do a few things differently, but overall I’m pleased with the result for a beginner.
I hope you enjoyed this how-to guide!