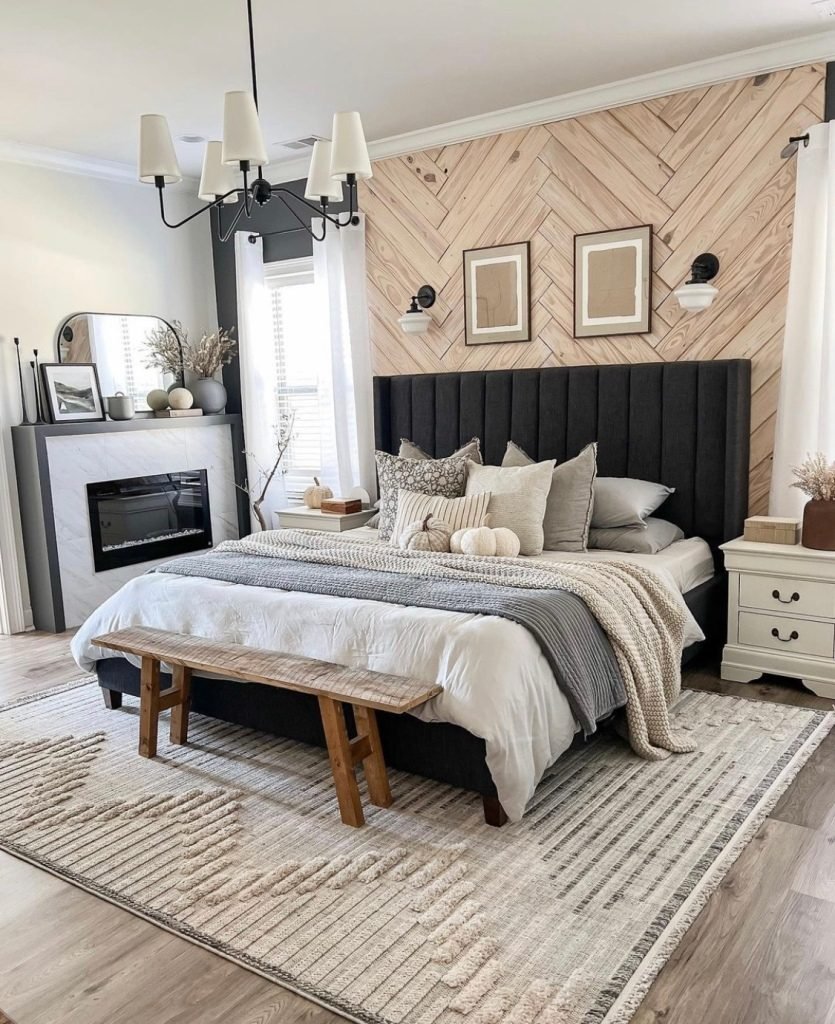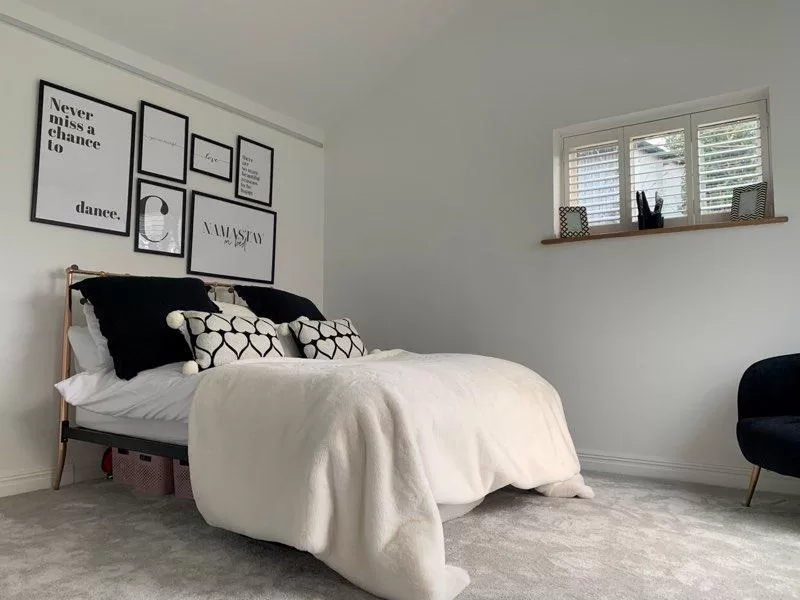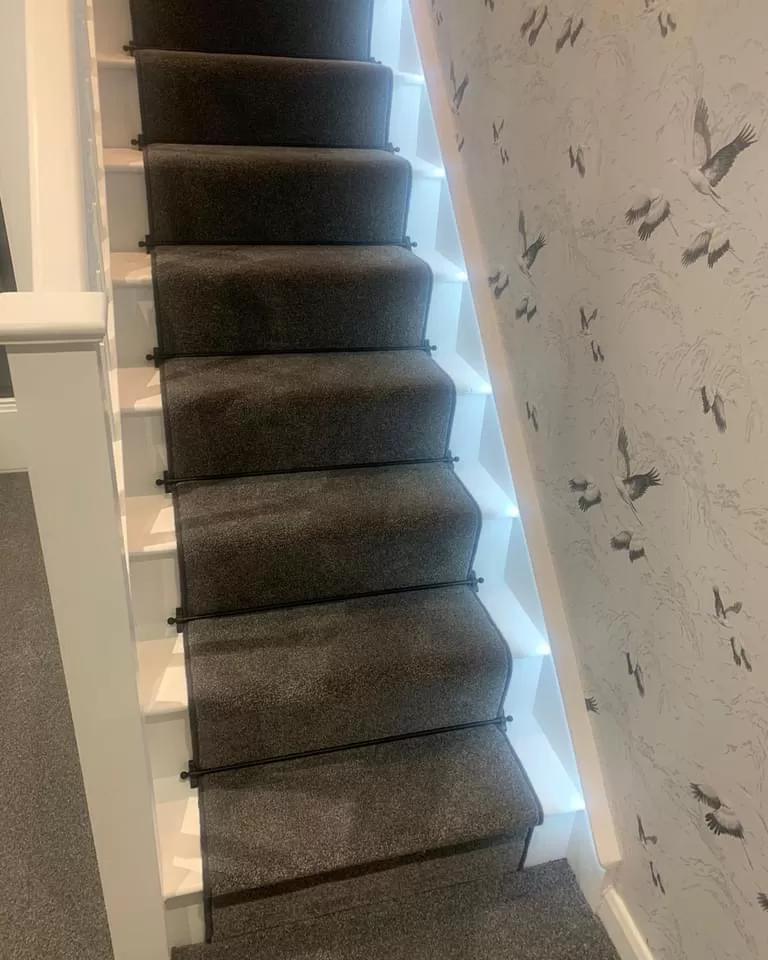
Photos personalize a room in a way that furniture and décor cannot. Neon lighting adds another layer by introducing color, depth, and visual focus. When combined correctly, these elements create a space that feels intentional instead of cluttered.
The key is treating photographs and lighting as part of one design system. Placement, scale, color temperature, and wall composition all influence how the finished room looks. A thoughtful layout creates balance while highlighting personal memories.
Build a Strong Visual Focal Point
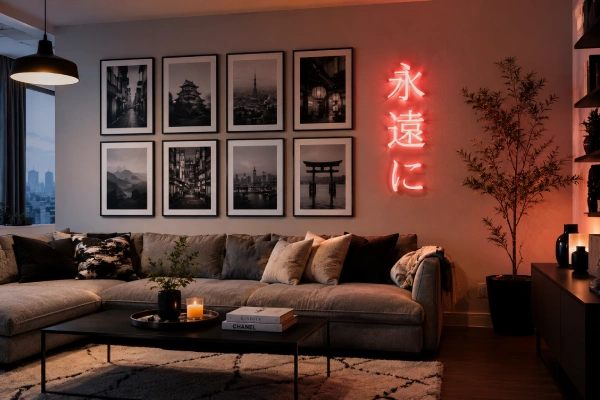
Start by deciding what should draw attention first. In most rooms, this is either a gallery wall or a statement lighting feature. Once the focal point is established, the remaining décor should support it rather than compete with it. Decorative accents such as Japanese neon signs work well when their colors complement the artwork instead of overwhelming it.
Avoid placing multiple bright light sources on the same wall. A single neon installation paired with framed photography creates a cleaner composition and prevents visual fatigue.
Choose photographs that share a consistent editing style, color palette, or frame material. Uniform spacing and aligned edges help individual pieces feel connected even when the images vary in subject.
Balance Light With Wall Art
Neon lighting changes how colors appear throughout a room. Warm tones create a cozy atmosphere, while cooler hues emphasize modern interiors. Position neon so it enhances the photographs without creating glare on the glass.
Lighting should support the artwork instead of becoming the only feature visitors notice.
Use Scale and Spacing Effectively
Large walls benefit from oversized artwork or grouped photo arrangements. Smaller walls often look cleaner with fewer pieces and more negative space. A common mistake is hanging several small frames too far apart, which makes the display feel disconnected.
Keep these design principles in mind:
- Maintain consistent spacing between frames.
- Center artwork at eye level whenever possible.
- Leave enough wall space for the neon light to remain visually distinct.
Following these guidelines creates a layout that feels organized without looking overly symmetrical.
Coordinate Colors Across the Room
The most successful interiors repeat colors throughout the space. If the neon sign emits a warm amber glow, incorporate similar tones through textiles, artwork, or decorative accessories. Cooler blue or white lighting pairs well with neutral palettes, black accents, and contemporary furniture.
Photos should also support the room’s color scheme. Black-and-white photography works well in minimalist interiors, while vibrant travel or landscape images can reinforce colorful décor.
Matching every color perfectly is unnecessary. Repeating a few dominant tones creates visual continuity while allowing individual design elements to stand out.
Select Frames That Match the Interior Style
Frame selection influences the overall aesthetic just as much as the photographs themselves. Thin black metal frames complement modern interiors, while natural wood frames create warmth in Scandinavian, coastal, or transitional spaces.
Mixing too many frame finishes often creates unnecessary visual noise. Limiting the display to one or two finishes keeps attention on the photographs instead of the hardware.
When displaying family memories, travel photography, or milestone events, professionally printed personalized photo books can also complement framed displays by preserving larger collections without overcrowding the walls. They provide an accessible way to showcase additional images on coffee tables, shelves, or consoles.
Layer Lighting for Depth
Neon lighting should never serve as the room’s only light source. Combine it with ambient ceiling fixtures, table lamps, or wall sconces to produce balanced illumination throughout the space.
Layered lighting improves comfort while reducing harsh shadows around framed artwork. It also allows the neon feature to remain an accent instead of dominating the room during evening hours.
Keep Decorative Elements Intentional
Every decorative piece should contribute to the overall composition. Avoid filling every available wall with photographs, signs, shelves, or artwork.
Instead, evaluate the room from multiple viewing angles. The eye should naturally move from the focal point to surrounding décor without becoming distracted by competing elements. A restrained approach often produces a more sophisticated result than adding additional decorations.
Conclusion
Styling a room with photos and neon lighting requires careful attention to composition, lighting, scale, and color. When these elements work together, the result feels cohesive rather than decorative for its own sake.
By creating a clear focal point, coordinating finishes, layering light sources, and displaying personal photographs thoughtfully, you can design a space that reflects your personality while maintaining a polished and timeless appearance.