Some of the links on this website are affiliate links. This means that if you click through and make a purchase, we may earn a small commission at no extra cost to you. Your support helps us keep Style Your Sanctuary free, allowing us to continue sharing home inspiration, decorating advice, and helpful guides. Affiliate programs we work with include Amazon Associates, Awin and Partnerize.
Dulux Brilliant White is one of Dulux’s whitet shades they do. It’s a fresh and crisp white to use around your home. In this article, we share how we refreshed our bathroom ceiling using Dulux Brilliant White – read on to see the results!
Ways to use Dulux Brilliant White in your home
- Bathroom ceiling (keep reading for the low down)
- Skirting boards and coving – great for refreshing white accents
- Doors and frames – for upkeeping that fresh look
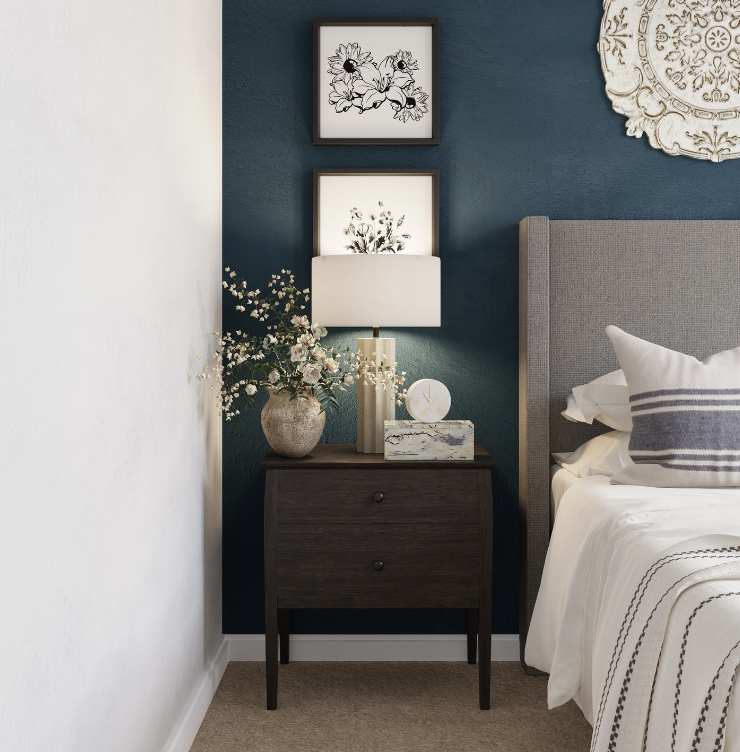
- On any wall in your home – use it for the entire room (make sure it’s south-facing) or as a way to break up a coloured room
Bathroom ceiling refresh using Brilliant White
Words from the perspective of Leanne at Style Your Sanctuary
Since moving into our home almost 2 years ago, our bathroom is a room that we’ve not really touched because it looks fine (for now). But what we have noticed is the bathroom ceiling wasn’t in the best condition, and over time (and my hot showers) the ceiling has some paint chipped off.
After inspecting my ceiling, it appeared that there was only one coat of paint, as the plaster is quite visible. Therefore, I decided to take a few hours out of my weekend to patch it up. Luckily, the bathroom is small so it was a manageable job in about 2.5 hours (including prep)
You can watch the entire video below, or scroll down to see each step of the process.
Step one – Prep the ceiling
Firstly, I removed all towels and bathroom bits lying around. Then, I sanded off some of the paint that had come away so it was all smooth.
- Sanded off uneven and flaking away paint
- Wiped down the ceiling after with a damp, clean cloth. Then dried it.
Step two – time to paint
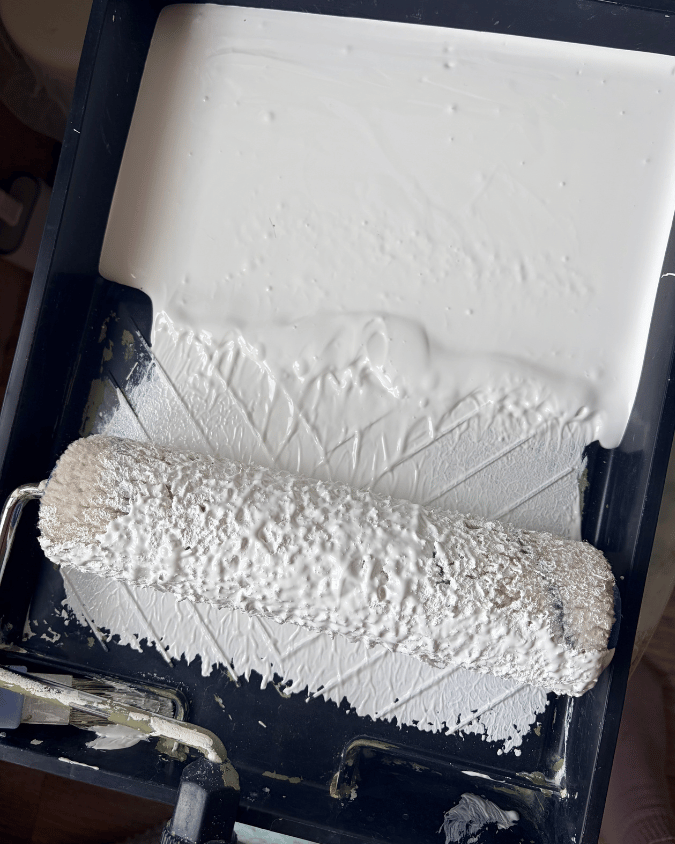
Once the ceiling was prepped, it was time to paint (simple as that!). I used a roller and small corner paint brush for the coving.
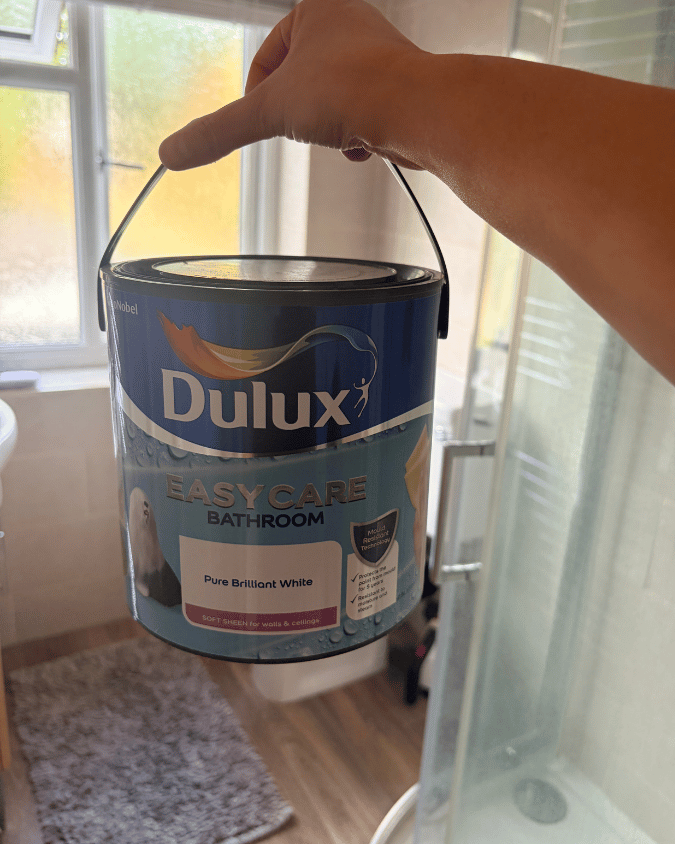
- I used Dulux Brilliant White Bathroom paint
- Dulux corner brush for coving and edges
- Roller for the main ceiling
Step three – let it dry and recoat if needed
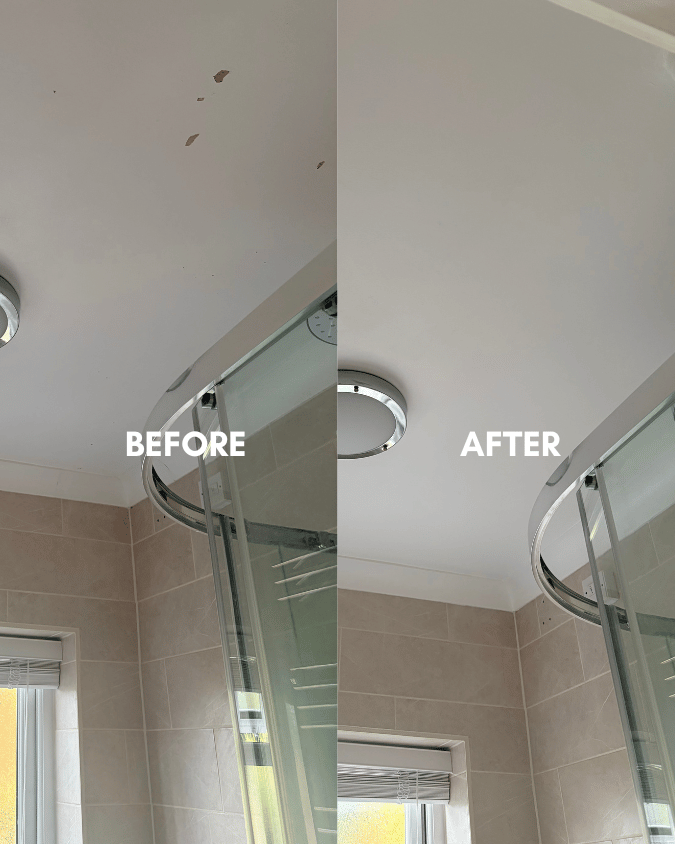
As this was a small job, it didn’t take long for the paint to dry, which meant If I wanted to do a second coat that day, I could.
- Opened windows wide for a few hours
- I showered the same evening and has no issues
If you want more tips and paint colour inspiration for your home, find us on Instagram, TikTok, Pinterest & YouTube! Or explore some more articles below!
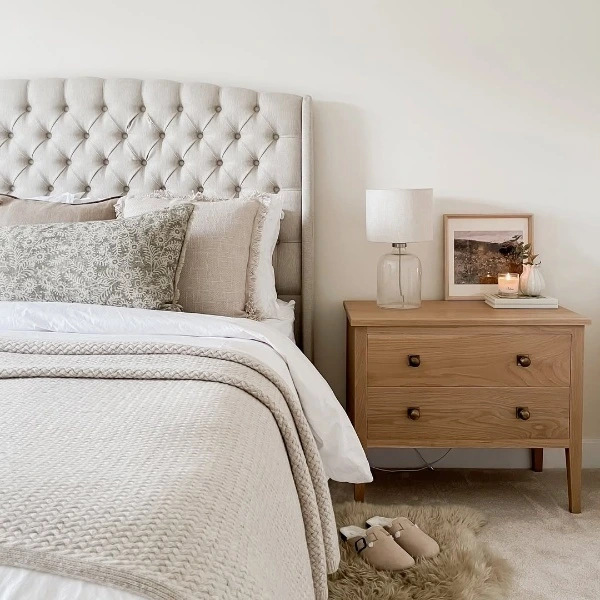
How to style Dulux Almond White
So, you are thinking about repainting your home. The colour you have selected is Dulux…
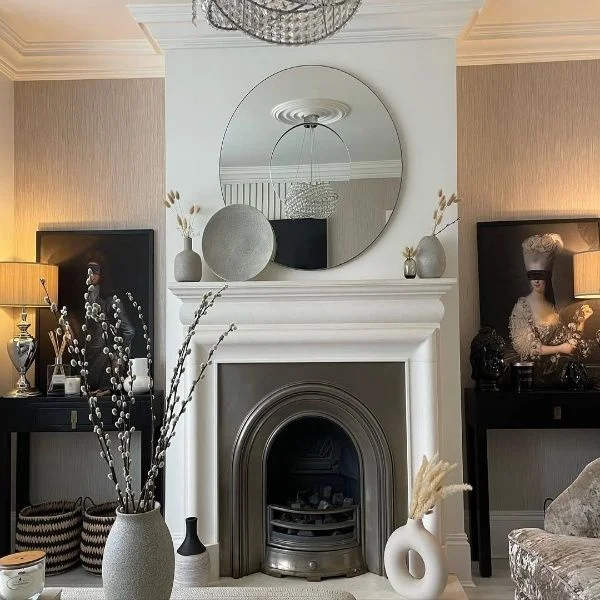
How to Style Dulux Jasmine White
Edited by Leanne Dulux Jasmine White is a timeless and soft off-white shade. It comes…
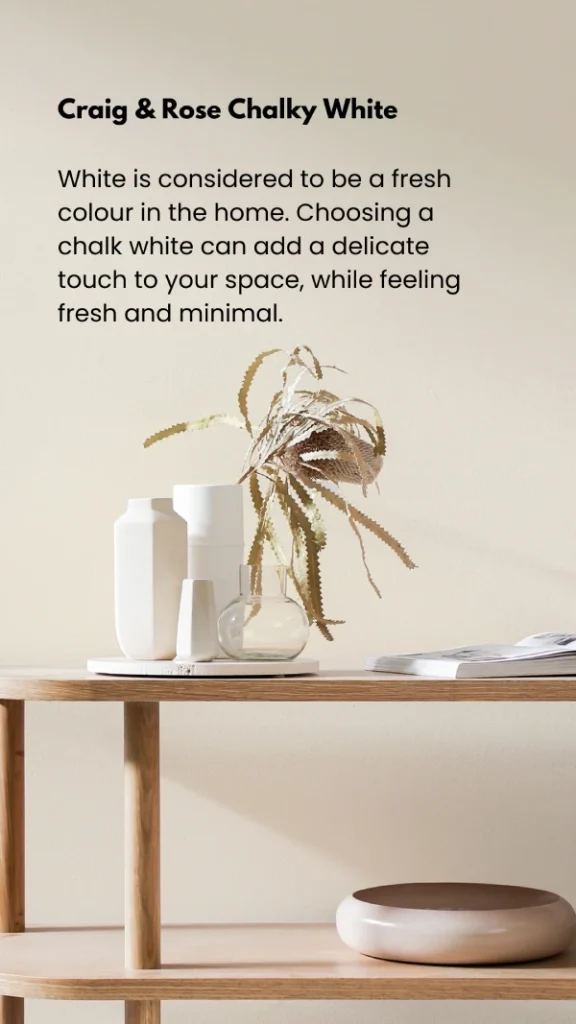
Create a Cozy Home with These Hygge Paint Colour Ideas
Are you struggling to find the right cozy colour for your space? Wether it’s your…
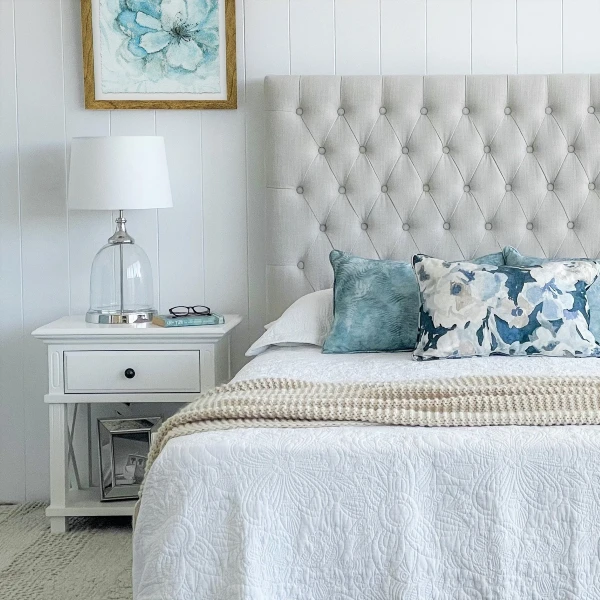
Stunning White and Grey Bedroom Ideas You Should Consider
Timeless and Modern White and Grey Bedroom Ideas for You Do you know that creating…

The Best White Dulux Paint Colours for Your Space
Witten by Riaa White paint is a classic choice for home interiors, offering a clean,…
Trendy White Kitchen Splashback Ideas for a Modern Makeover
🤍15 beautiful ways to style a white kitchen If you are a kitchen lover looking…